
PhotoRec is one of those tools that doesn’t look like much, but anyone who’s spent time in DIY data recovery forums has seen the name. It’s praised as one of the most powerful free options around, yet its real‑world performance isn’t always clear. How practical is it for everyday recoveries? That’s what our team set out to find. We put PhotoRec through a full round of hands‑on tests, from deleted files to formatted drives, to see what it can actually do (and what you should expect).
Quick Verdict
Here’s a quick verdict: PhotoRec works. Yes, it has its limitations, but overall, it’s a worthy tool.
🏆 Best for: Tech-savvy users who need to recover files from formatted, corrupted, or RAW drives (when filenames and folder structure aren’t critical).
It’s one of the most capable free recovery tools available. It ignores the file system entirely and scans the raw disk surface for known file signatures, which makes it perfect for cases like RAW SD cards or accidentally wiped USBs. There’s no paywall, no data cap, and it runs on Windows, macOS, and Linux.
But it’s far from user-friendly. You won’t get back original filenames or folder hierarchy, and the interface is minimal (especially if you use the default command-line version). Even with QPhotoRec (the optional GUI), the experience feels dated and a bit clunky. It also dumps thousands of files into one directory, so sorting through them takes time.
If you want something polished or need precise recovery with full metadata, this isn’t it.
Here’s a quick breakdown of PhotoRec’s pros and cons based on everything we covered:
Pros
- Completely free and open-source (GPL v2+)
- Lightweight, portable, no installation required
- Excellent raw recovery from formatted or RAW drives
- Cross-platform: runs on Windows, macOS, and Linux
- Recovers 480+ file types via signature-based carving
- Safe to use: read-only scan
- No file names, no folder structure, no timestamps
- Command-line interface is intimidating for many users
- GUI version (QPhotoRec) is very basic and limited
- No scan pause/resume, no session saving
- Cleanup after recovery is time-consuming and manual
- No preview, no filtering beyond file type
About PhotoRec
As the official page puts it, PhotoRec works on everything from hard drives and SSDs to CD-ROMs and digital camera memory cards. And despite the name, it’s not limited to just photo recovery. It can recover a wide range of file types: videos, documents, archives, and more.
PhotoRec is developed and maintained by CGSecurity – the same (mostly one-man) team behind TestDisk. That one man is Christophe GRENIER, who’s been maintaining both tools for years now. TestDisk focuses on recovering lost partitions and unbootable disks, while PhotoRec handles the raw file recovery side. The two are bundled together, and you can grab them from the official CGSecurity website.
And yes, it’s completely free. PhotoRec is open-source, released under the GNU General Public License (GPL v2+), which means you’re free to use it, share it, and modify it however you want. There are no paid versions, no “Pro” tier.
Christophe makes it clear on the site: PhotoRec will always be free. Like many open-source developers, he invites users who found the tool helpful to consider contributing a donation to support ongoing development.
PhotoRec Recovery Capabilities
PhotoRec can be considered a file carver tool. Instead of relying on the file system, it scans the raw disk surface for known file signatures and reconstructs files based on that. It identifies block or cluster size (either from the file system or by analyzing the layout of early files), then reads the device block by block.
When it finds a signature (like a JPEG or ZIP header), it starts recovery. If the file isn’t fragmented, the result is often a complete, usable file. For stream-based formats like MP3, it recovers until the stream ends.
A key limitation of PhotoRec is that it relies only on file signatures, not file system records. That means it can only recover supported file types, and you’ll never get back filenames or folder structure. Everything is renamed and saved into generic folders.
The developer puts special emphasis on recovering photos and videos from digital cameras, and it shows in the list of devices tested:
- Canon EOS 10D, 60D, 80D, 300D
- Casio Exilim EX-Z 750
- Fujifilm X-T10
- HP PhotoSmart 620, 850, 935
- Nikon CoolPix 775, 950, 5700
- Olympus C350N, C860L, Mju 400 Digital, Stylus 300
- Sony Alpha DSLR, DSC-P9, NEX-6
- Pentax K20D
- Praktica DCZ-3.4
These aren’t random picks. Many digital cameras store files in a way that’s easy to carve, and PhotoRec is tuned for those patterns. But it’s not limited to camera memory cards. If your storage device, whether it’s a hard drive, USB stick, or SD card, is recognized by the system, PhotoRec can scan it. All it needs is read access.
File System & File Type Support
As we already mentioned in this PhotoRec software review, it ignores the file system entirely, so there’s not much to say in terms of supported file systems. Whether the disk was using FAT32, NTFS, exFAT, ext4, or something else, it doesn’t matter. PhotoRec works directly at the block level and doesn’t care how the data was organized originally.
But when it comes to file formats, things get interesting. Since it relies entirely on known file signatures, PhotoRec supports more than 480 file extensions, grouped into roughly 300 file families. You can find the full list on the official website, but it includes everything from standard image and video formats to lesser-known and highly specialized file types.
Of course, all the usual suspects are there, .jpg, .png, .mov, .mp4, .doc, .zip, but it also recognizes more niche formats like:
- .cr2 – Canon Raw 2 (TIFF-based)
- .cr3 – Canon Raw v3 (from the MOV file family)
- .fbk – Microsoft Dynamics NAV (MS Navision)
- .mhbd – iTunes database files
- .sda – StarDraw documents
- .wpd – Corel WordPerfect documents
Features
Many of the data recovery tools we test come packed with features – disk imaging, multiple scan modes, S.M.A.R.T. monitoring, session saving, preview panes, recovery filters, you name it. PhotoRec offers none of that. It’s a barebones tool that does one thing: raw file recovery.
There’s no scan pausing, no resume function, no real-time preview, and no way to narrow your search beyond selecting file types. It doesn’t let you save a scan session, doesn’t show drive health, and doesn’t include tools for partition repair or disk cloning (that’s TestDisk’s territory).
What you get with PhotoRec is a single-purpose utility focused entirely on signature-based recovery.
User Interface & Ease of Use
Well… this is easily PhotoRec’s weakest point. A lot of people download it, open it once, and close it immediately, and honestly, we don’t blame them. In 2025, it’s a tough sell.
By default, you get a plain-text terminal window. No mouse support, just a keyboard-driven menu system that feels more like BIOS setup than a modern app. If you’re not comfortable with command-line tools, the learning curve can be steep.
Even basic steps like choosing the right drive or destination folder take more effort than they should.
This PhotoRec for Windows review wouldn’t be complete without mentioning QPhotoRec – a more approachable version that adds a basic UI with buttons and dropdowns. It’s definitely more digestible.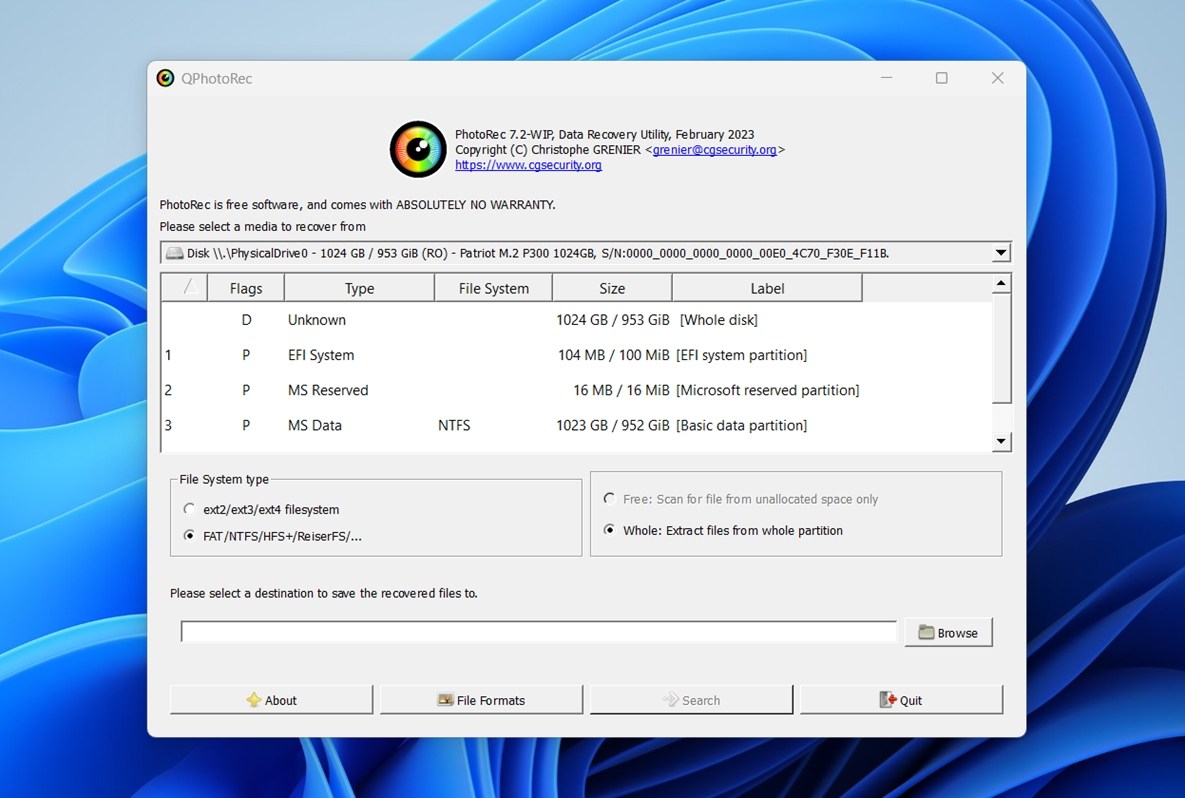 But it’s important to understand: QPhotoRec isn’t a separate tool. It’s just a GUI wrapper for PhotoRec. The core recovery engine is exactly the same. What it offers is a bit of convenience – point-and-click navigation, and a simple way to choose drives and output folders. It doesn’t add new features, improve recovery performance, or unlock anything extra. It just makes the same process a little less troublesome.
By the end of this PhotoRec recovery review, we’ll score it using the same criteria we applied to other tools. That way, you can see how it stacks up. Here are the key metrics we used:
| Metric | What We Measured |
| Recovery success rate | The percentage of files that were fully restored and usable |
| Scan speed | How long scans took |
| Ease of use | How clear and accessible the workflow was |
| Overall value | What you get (or don’t) compared to competing recovery software |
Each of these will be factored into PhotoRec’s final score.
How We Tested It
Our PhotoRec data recovery review followed the same basic testing process we use for all other tools we evaluate. We simulated common data loss scenarios to see how the software would perform in real-world conditions.
- In the first test, we simply deleted a large batch of files from a healthy drive. These files were not in the Recycle Bin and would typically be considered “lost,” but still recoverable with the recovery tool.
- For the second test, we created a more serious problem: a corrupted SD card. To simulate this, we used a hex editor to damage the partition table. As a result, Windows Disk Management showed the card as RAW—completely unreadable through normal means.
The dataset we used for both tests included around 1,500 files (~40 GB total) – a wide range of file types people work with every day:
- Photos: JPEG, PNG, Canon CR2 RAW, NEF
- Videos: MP4 (H.264/H.265), MOV, AVI
- Documents: DOC/DOCX, ODS, PDF, PPTX, RTF, TXT
- Music & Audio: MP3, WAV, FLAC
- Archives & Others: ZIP, RAR, EXE, and some miscellaneous types
Each device was wiped and prepared with the same set of files before we “triggered” the data loss. This helped us measure how consistently PhotoRec could recover across different types of drives and scenarios.
All tests were conducted on a dedicated recovery setup.
Test Machine:
- OS: Windows 11 Pro (24H2)
- CPU: Intel Core i7-11700K
- RAM: 32 GB DDR4
- Storage: 1 TB NVMe SSD (system)
Test Devices Used for Data Loss Scenarios:
- 1 TB Seagate Barracuda HDD, used for the “deleted files” scenario.
- 16 GB Samsung SD card, intentionally corrupted to simulate a RAW state.
PhotoRec Recovery Process (Workflow)
We’ve talked plenty about how PhotoRec isn’t the prettiest tool out there, but let’s make that more concrete. Here’s what the actual recovery process looks like with PhotoRec, step by step.
Installing PhotoRec
As we write this PhotoRec recovery review, the official download page lists two latest versions: TestDisk & PhotoRec 7.3-WIP (a work-in-progress build) and the stable TestDisk & PhotoRec 7.2.
We downloaded version 7.2, since we didn’t want to base our results on experimental or unfinished code.
Here’s how the setup works.
- Head to the official download page.
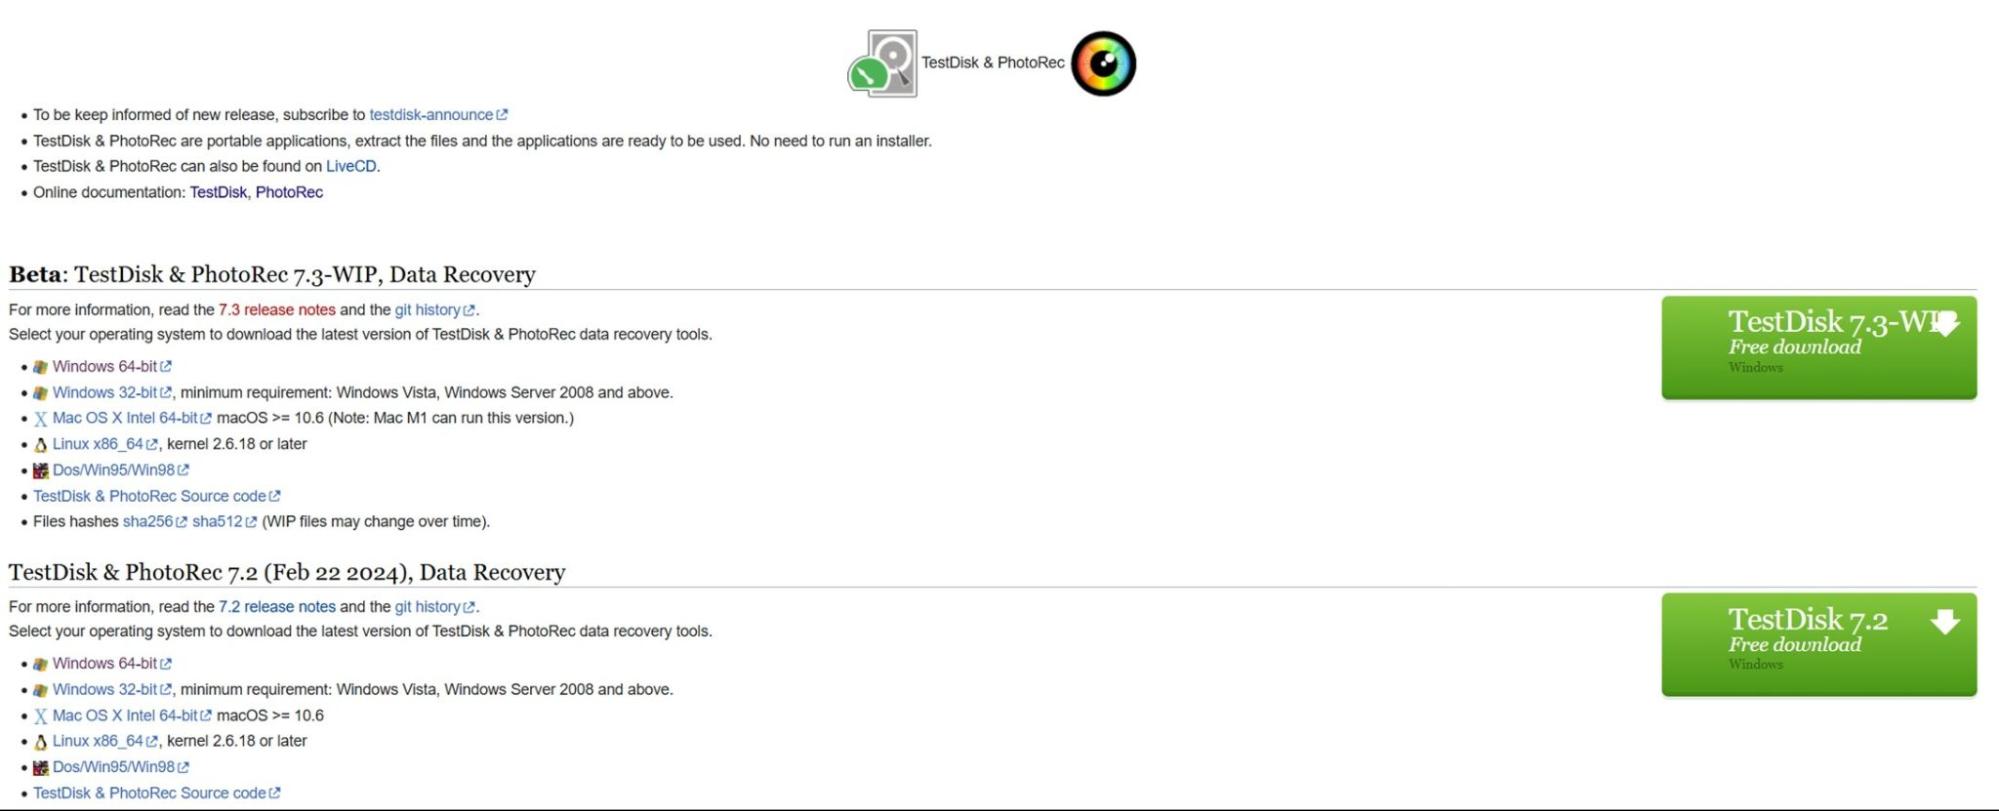
- For Windows, download the zip file labeled something like: testdisk-7.2.win.zip
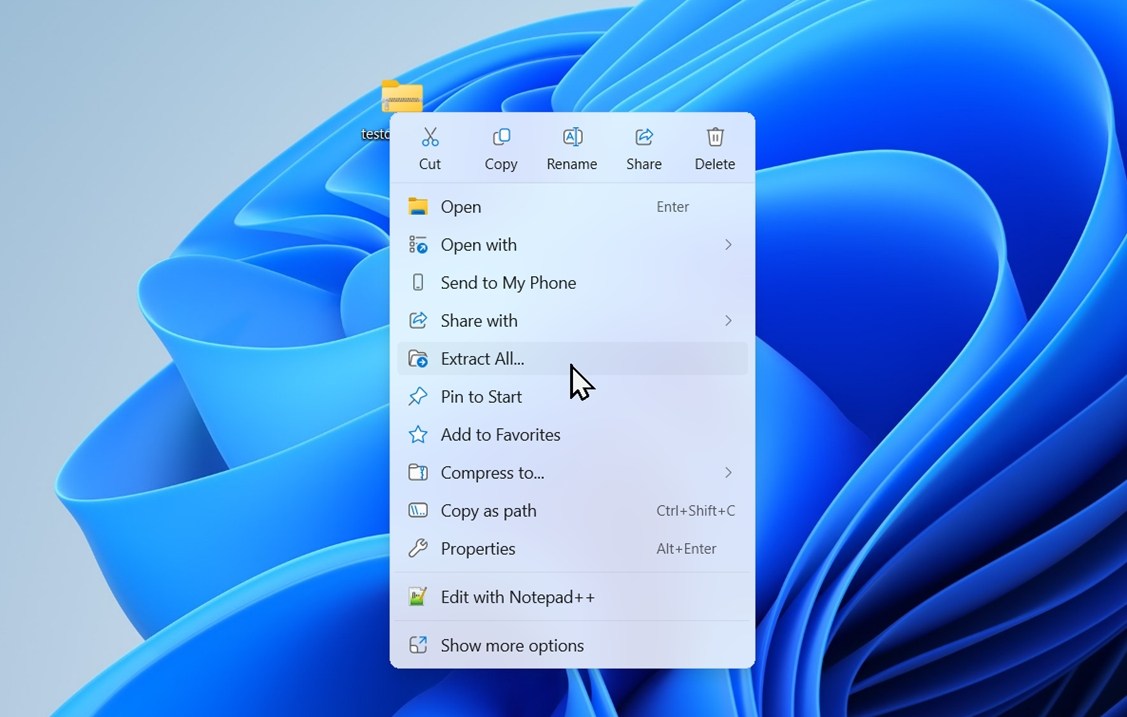
(File size is small, around 26 MB.) - Right-click the ZIP file > Extract All… or use a tool like 7-Zip. This will give you a folder named testdisk-7.2.
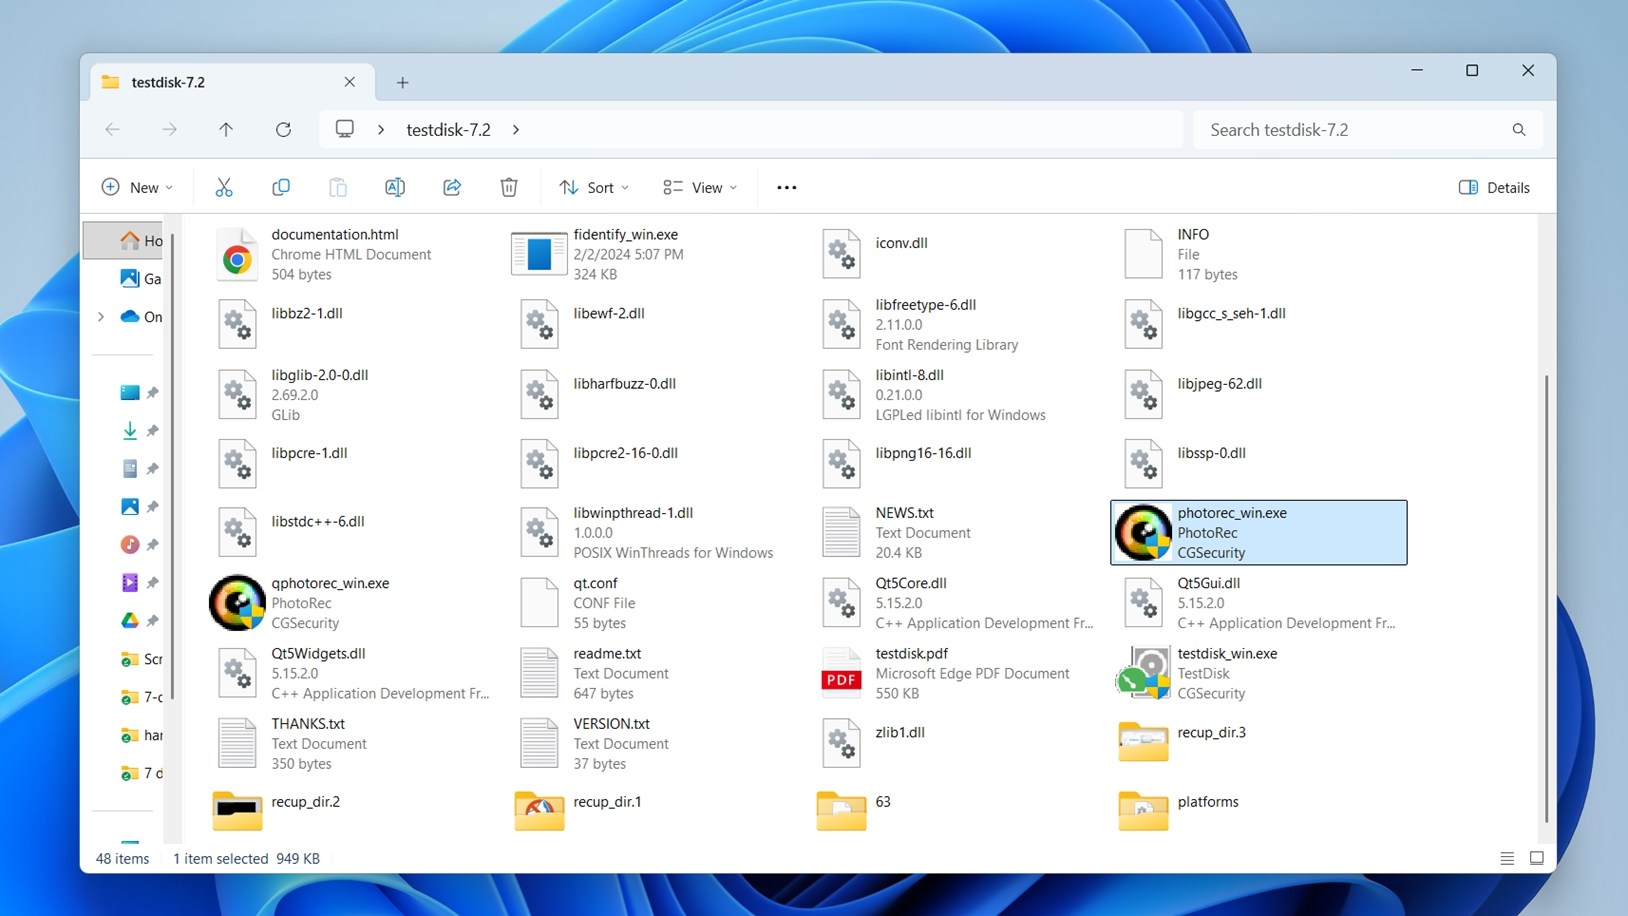
- Open the extracted folder. Inside, you’ll find: photorec_win.exe (command-line version), qphotorec_win.exe (GUI version), testdisk_win.exe (for partition recovery), and a bunch of .txt documentation files.
There’s no installer. You’re running it completely portable.
How to Use PhotoRec (Command-Line Version)
Here’s what the recovery workflow looks like using the default terminal interface:
- Launch photorec_win.exe.
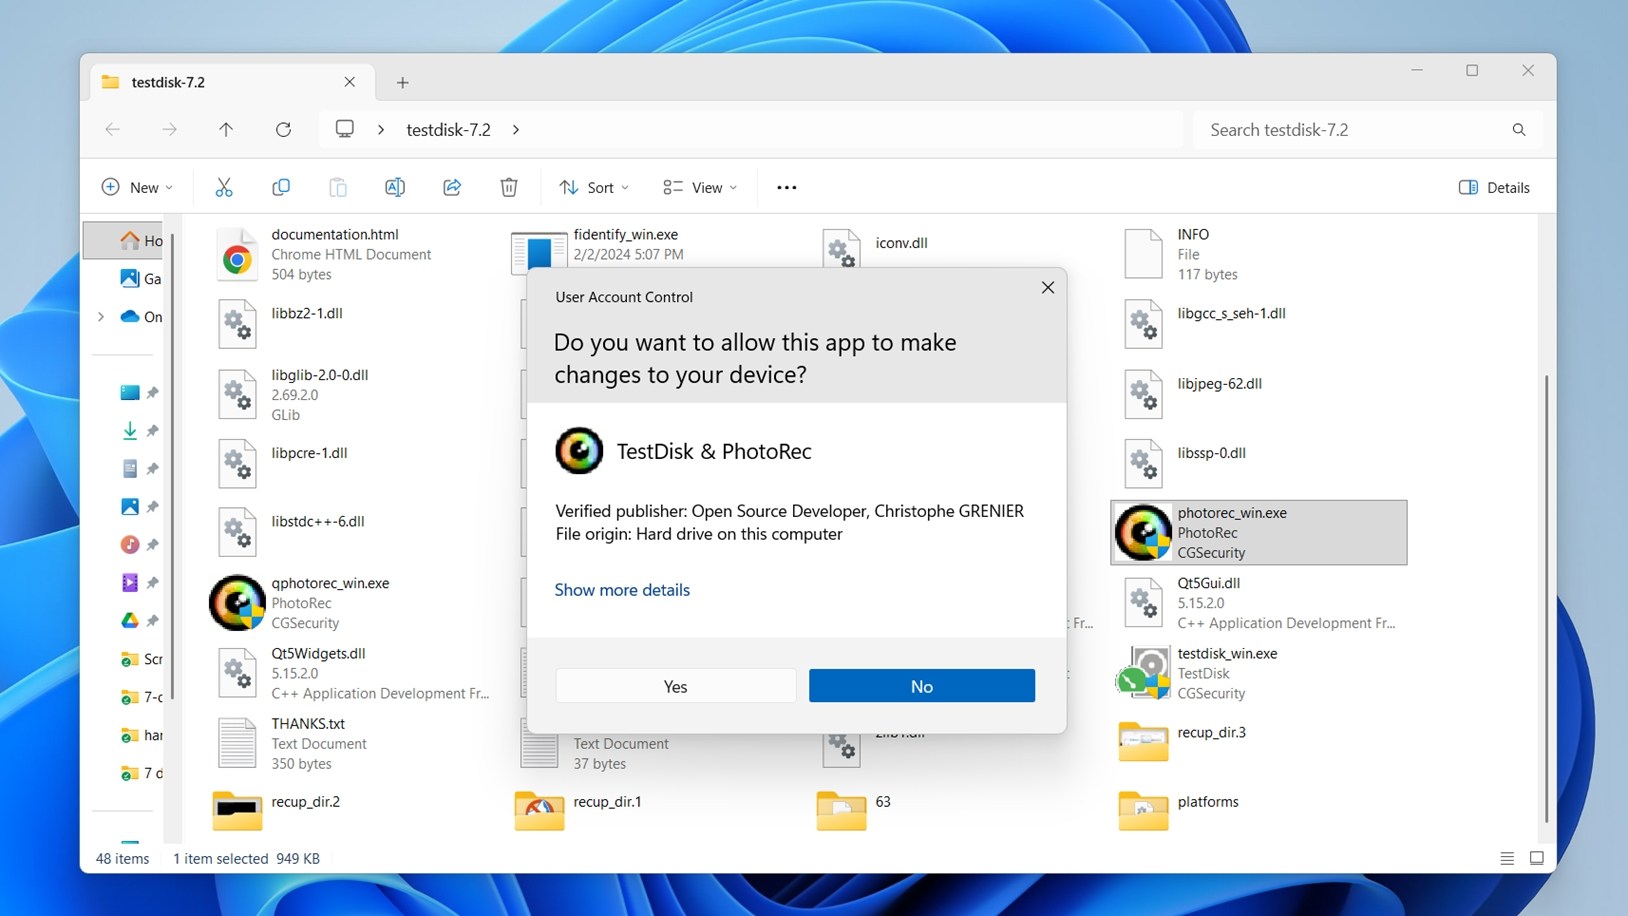
- You’ll likely see a User Account Control (UAC) prompt like the one in the screenshot. This is perfectly normal. You’ll need to click Yes to proceed. Admin rights can be necessary if you’re scanning a system drive or a device that needs elevated access.
- Use the arrow keys to select the drive you want to scan and press Enter.
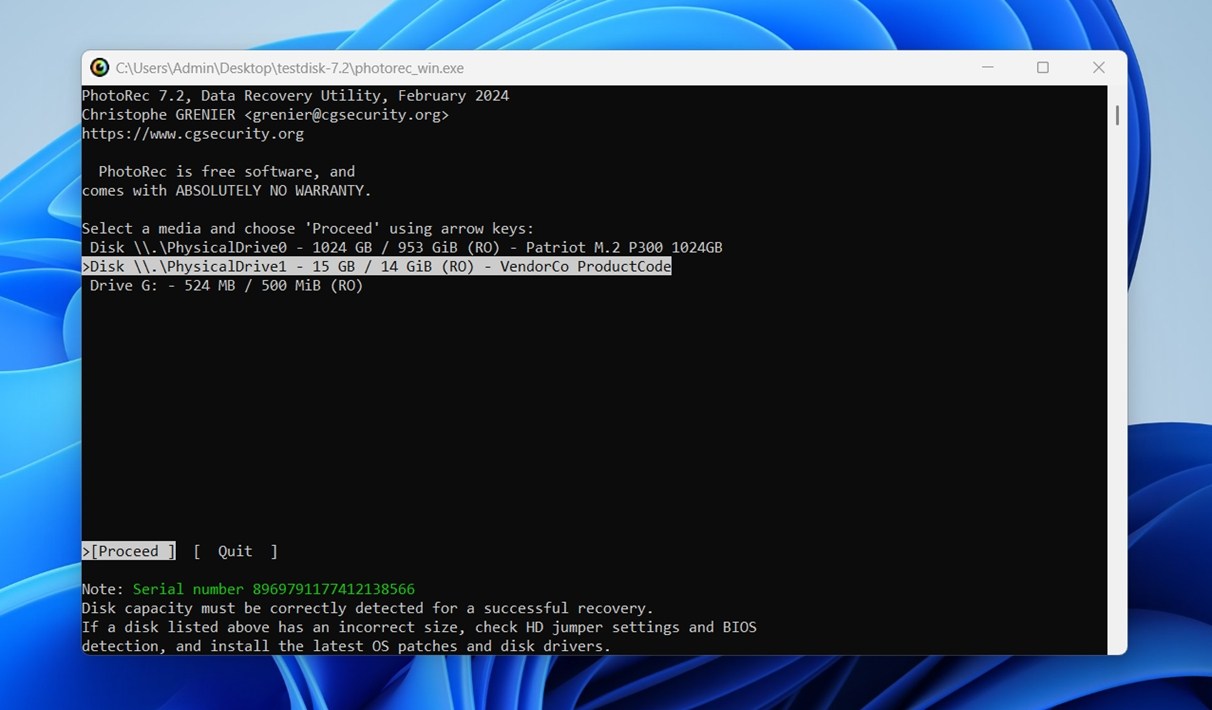
- Choose the partition you want to recover from, or select “No partition” to scan the whole disk.
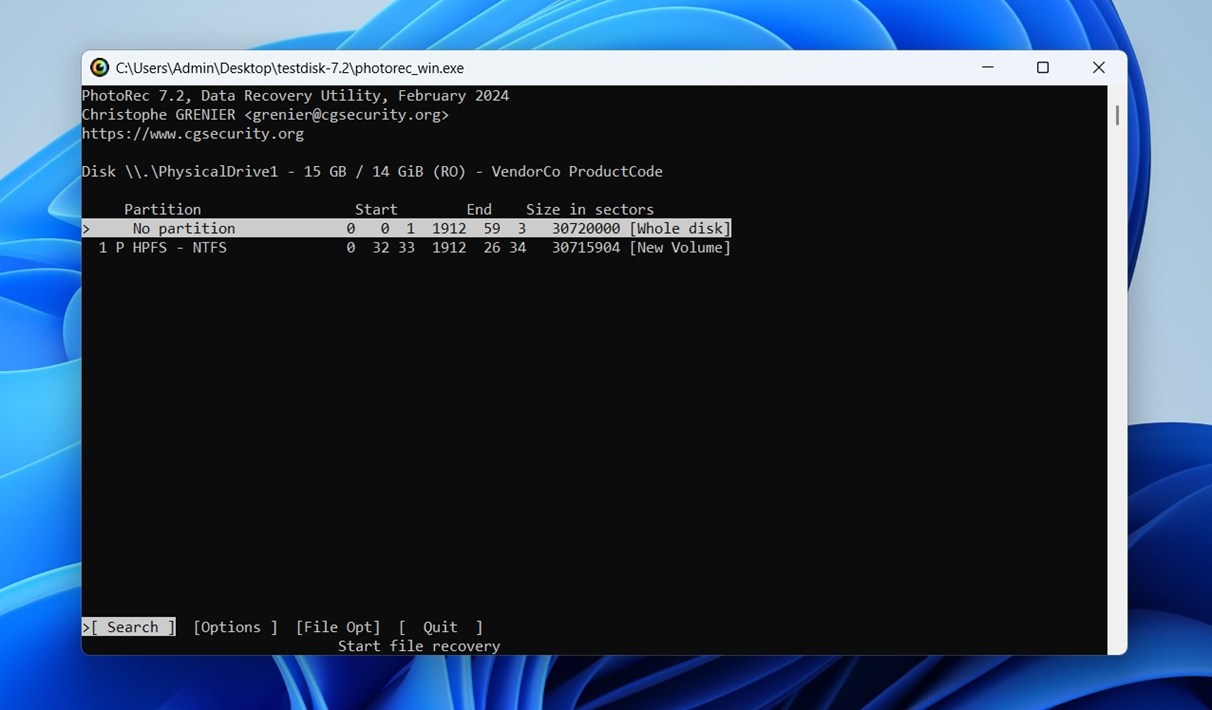
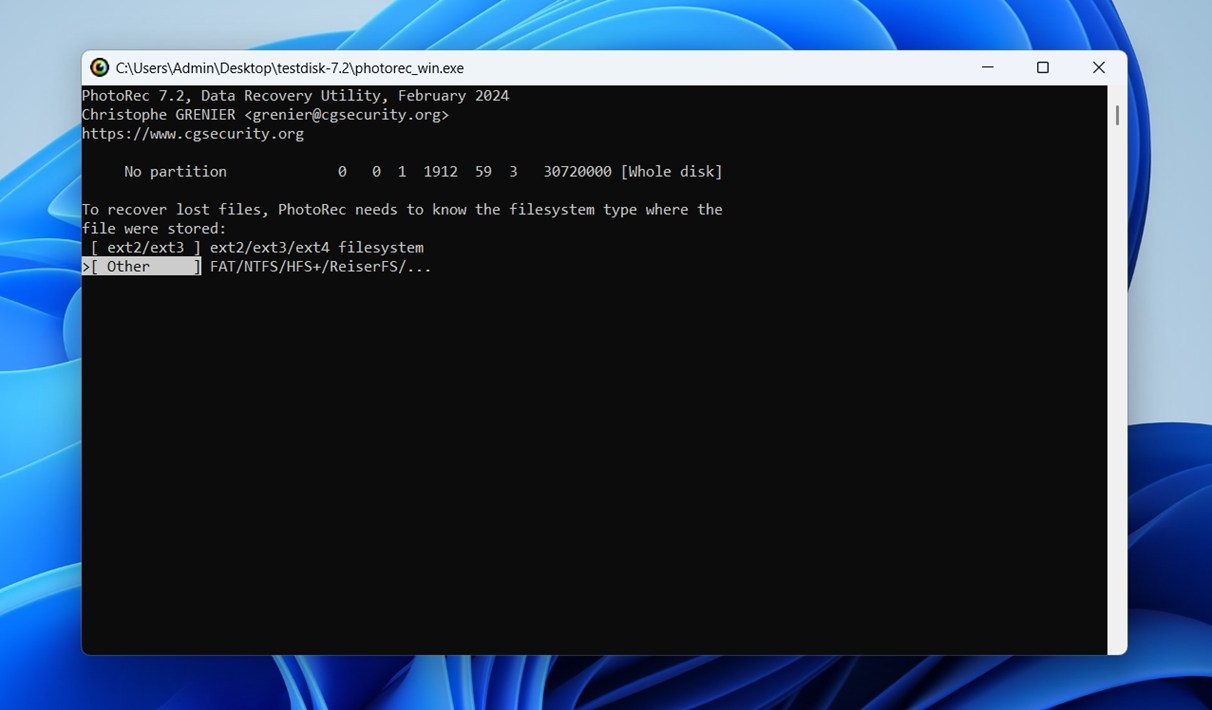
- Select the file system type (usually “Other” for FAT, NTFS, exFAT, or HFS+).
- (Optional) Press ‘File Opt’ to select specific file types to recover.
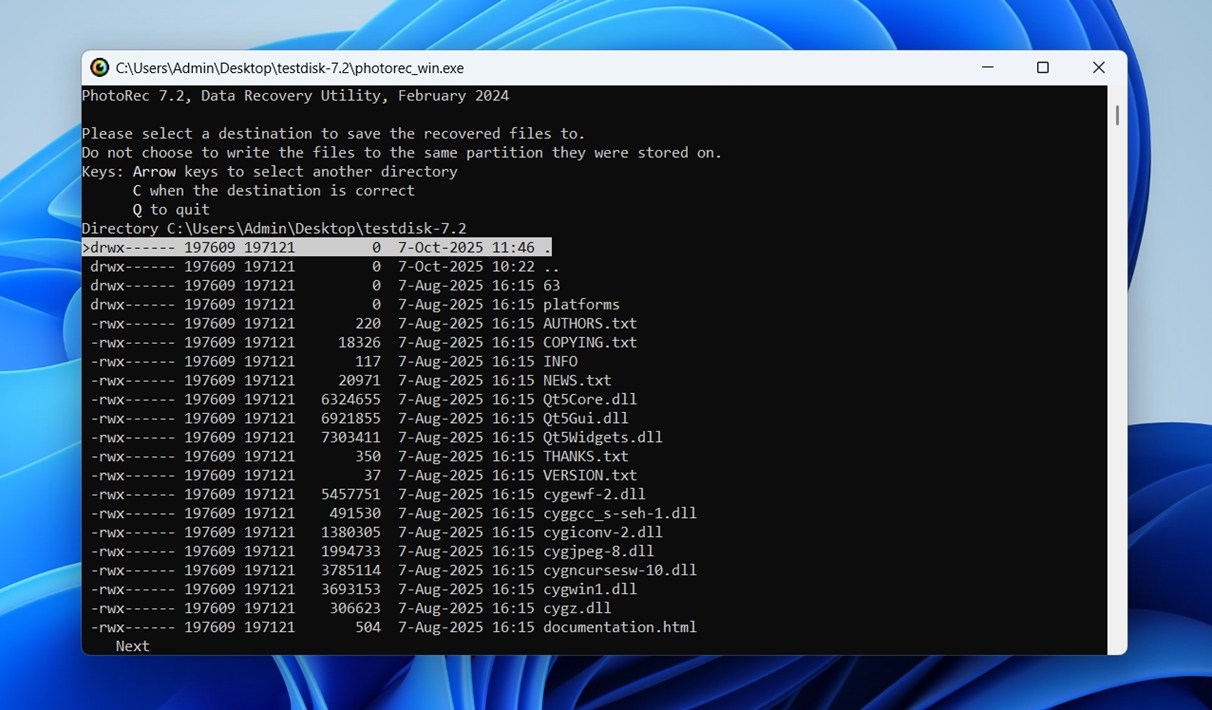
- Choose the destination folder where recovered files will be saved (and as we repeat in every guide: do not use the same drive you’re recovering from – this can permanently overwrite the data you’re trying to get back). Always use a different physical drive or external storage. PhotoRec won’t stop you from making this mistake, so it’s up to you to be careful here.
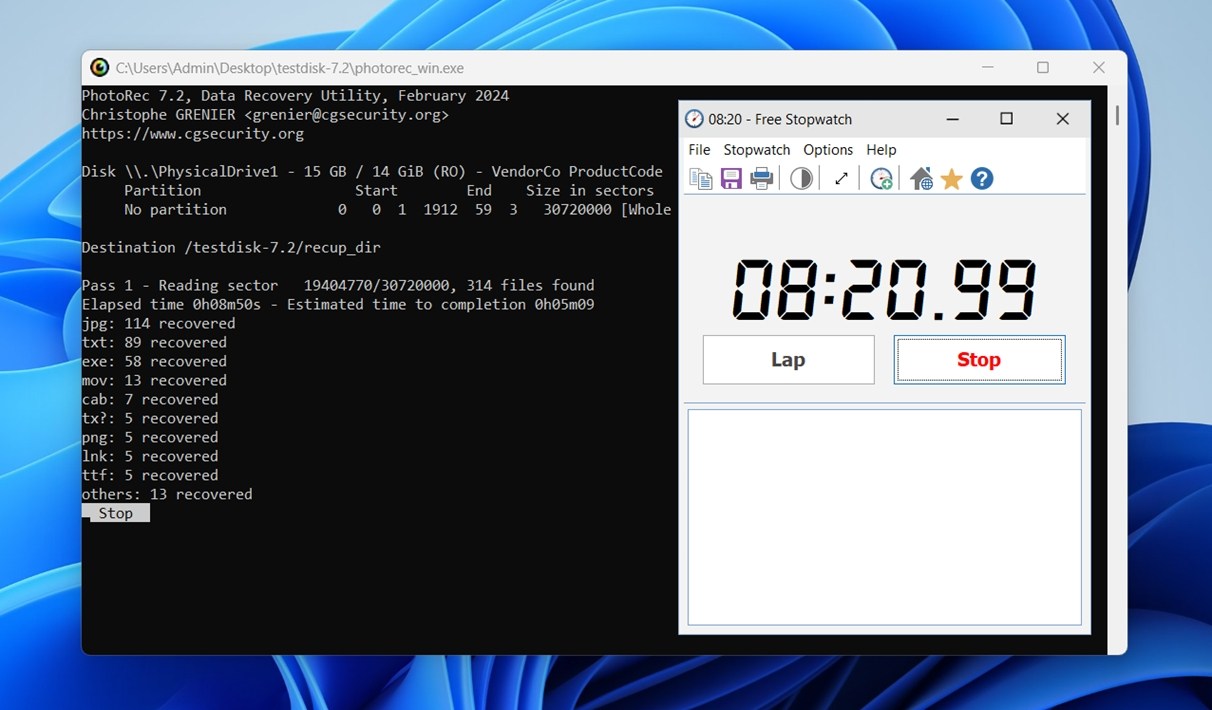
- Press ‘C’ to confirm the destination and start the scan.
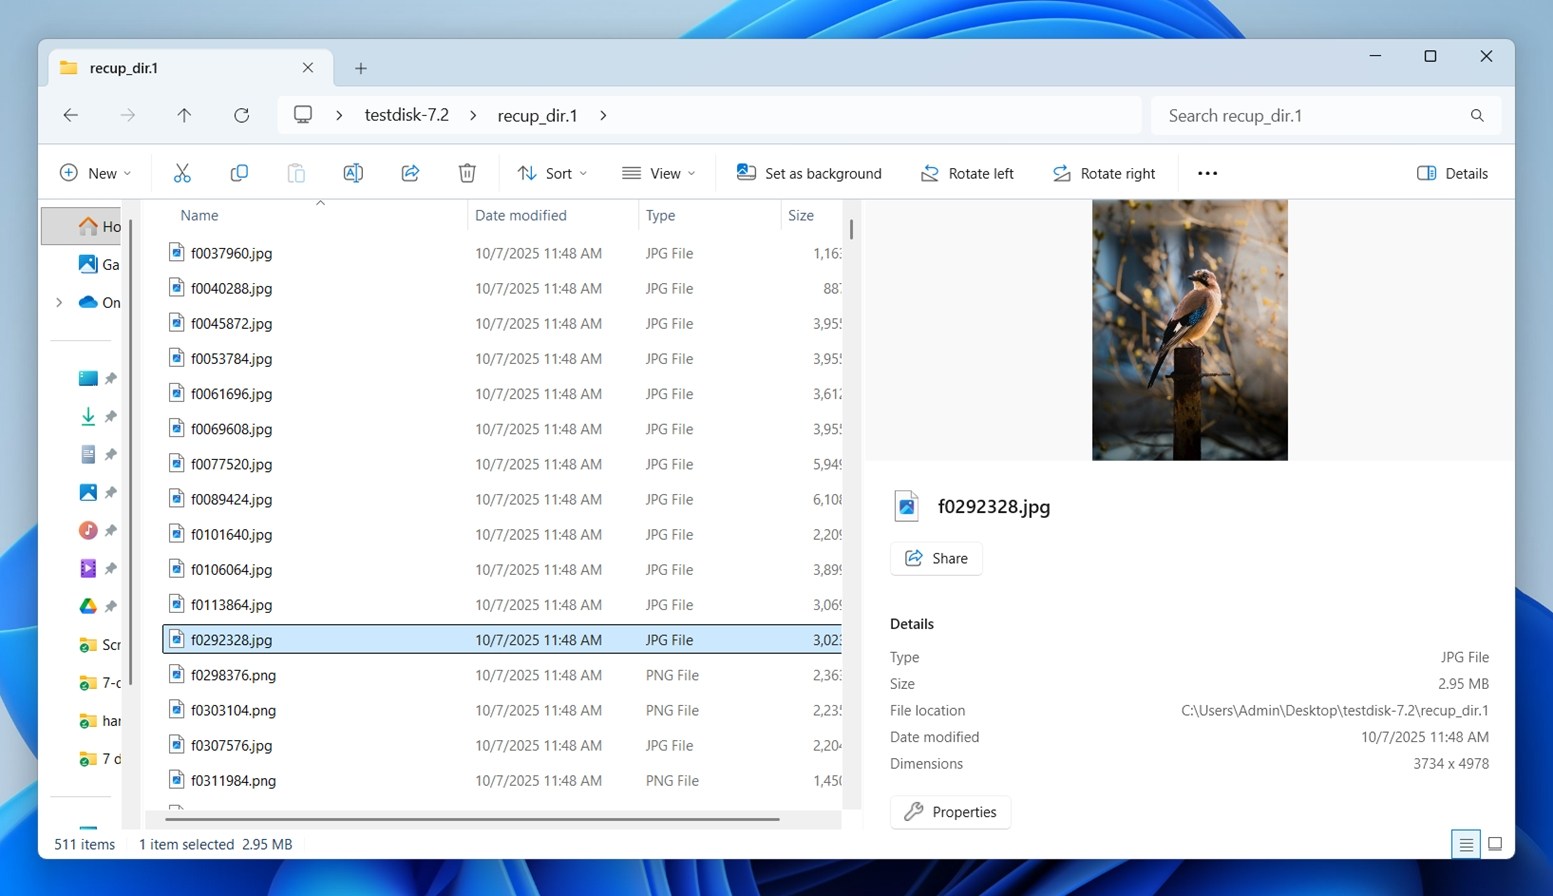
- Wait for the scan to finish. PhotoRec will automatically save recovered files into folders like recup_dir.1, recup_dir.2, etc.
- Browse the recovered folders and manually sort through the files (they’ll have generic names and no folder structure).
There’s also the option to do all of this in QPhotoRec. But for this review, we decided to use the original PhotoRec directly – straight from the terminal. As we already explained, QPhotoRec is just a wrapper for the same recovery engine. The results are identical; the only difference is how you get there.
Once you’ve gone through the process a couple of times, PhotoRec isn’t all that hard to use.
Test Results & Performance
Now let’s talk about what we actually found during testing. Here’s a quick breakdown of our results across two scenarios:
| Scenario | Recovery Success Rate | Scan Time | Notes |
| Deleted files from 1 TB Seagate HDD | ~90% | 58 minutes | Most files were recovered successfully, including photos, documents, and videos. Most file contents intact. |
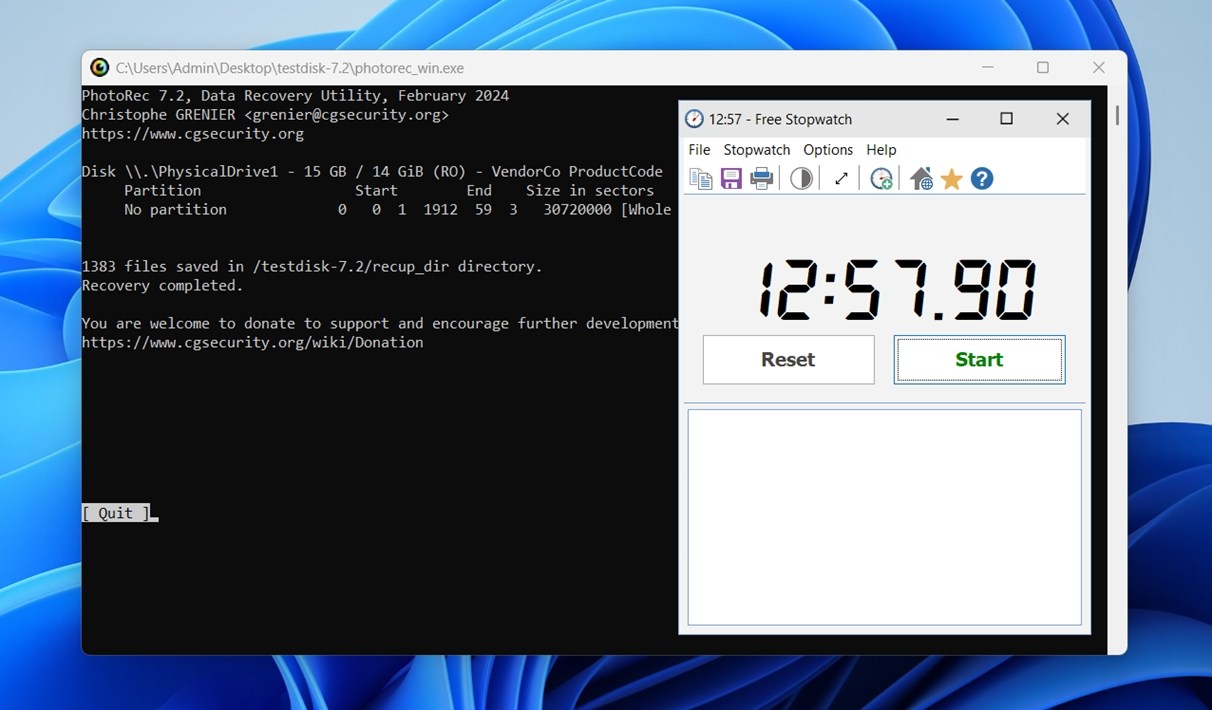
| Corrupted 16 GB microSD (RAW state) | ~86% | 13 minutes | PhotoRec found 1,383 files. Many JPGs and MP4s fully usable. Some problems with larger files. |
In both cases, PhotoRec was able to recover a high percentage of usable data.
As expected, none of the recovered files retained their original names or folder structures. Everything landed in recup_dir folders with generic names like f00123457.jpg. Sorting through the results took some time; let us tell you, it was no fun. But at least the recovery itself worked. Many file types like BMP, JPG, and several RAW photo formats such as CR2 (Canon) and NEF (Nikon) were fully recovered and opened without any issues.
However, not all files made it through. Formats like CRW (an older Canon RAW format) and SRF (Sony RAW) didn’t recover properly in our tests; either they were corrupted or couldn’t be found at all.
It was also somewhat inconsistent with documents. Microsoft Office formats like DOC and XLS came back mostly intact, but PhotoRec struggled with others, especially files from Apple’s iWork suite like Pages, Numbers, and Keynote. Those were either missing entirely or unusable after recovery.
As to scan time, it wasn’t bad at all. In fact, PhotoRec was quicker than many alternatives we’ve tested. The 16 GB SD card took just under 13 minutes to fully scan and recover what it could.
Though, to be fair, that speed comes with context. Unlike other tools that run multiple scan types (quick scan, deep scan, partition recovery), PhotoRec uses only one method: raw signature carving.
So while it’s fast, it’s not quite apples to apples. You’re skipping a lot of the overhead that more full-featured recovery tools include, especially those trying to preserve folder structure, filenames, or partition maps.
In short, PhotoRec performed about as we expected.
PhotoRec Value (Comparison With Competitors)
Usually in this section, we talk about whether the product’s price tag matches what you actually get. But with PhotoRec, that’s not really the question. There is no price tag. It’s a completely free, open-source project.
There’s also no “Pro” version with extra features. What you download is what you get. So, let’s jump straight into how it stacks up against a few popular PhotoRec alternatives and what they might offer in return.
Here’s a comparison table between PhotoRec and three popular recovery tools: Disk Drill, Recuva, and Stellar Data Recovery:
| Feature / Metric | PhotoRec | Recuva | Stellar Data Recovery | Disk Drill (paid) |
| Price / Licensing | Free, open-source | Free + paid Pro upgrade | Free version (limit) + subscription plans | Freemium (100 MB free on Windows) |
| Supported Platforms | Windows, macOS, Linux | Windows only | Windows & macOS | Windows & macOS |
| Scan / Recovery Methods | Signature-based carving, ignores file system | Quick & Deep scans | Quick & Deep scans | Quick scan + Deep scan + Advanced Camera Recovery mode |
| Filename / Folder Recovery | None (all generic names, no paths) | Often recovers structure if it’s preserved | Often recovers structure if it’s preserved | Often recovers both file structure and names (if metadata survived) |
| Ease of Use / UI | CLI by default / minimal GUI (QPhotoRec) | User-friendly GUI, wizard style | Polished GUI, easy for beginners | Modern, polished UI with previews, filters |
| Feature Extras | None (barebones) | Secure deletion | Photo & video repair | Recovery Vault, disk health, disk imaging, filter tools |
| Performance & Recovery | Good in raw/damaged cases | Good for simple recoveries | Strong in many cases, but slower deep scans | High performance, great results in most scenarios |
So if we compare PhotoRec with popular free or freemium options like Recuva or Disk Drill, it becomes clear that the only major thing it has going for it is its open-source status. In terms of recovery convenience, extra tools, or even basic preview and filtering options, it simply gets lost in the crowd.
Recuva, for example, often lets you recover with filenames (it’s not on the same level as bigger names like Disk Drill or Stellar, but still better than nothing), filter by file type, and securely delete files, all through a clean, beginner-friendly interface.
Disk Drill goes even further, offering disk imaging, S.M.A.R.T. monitoring, Recovery Vault, a dedicated camera recovery mode, and a polished UI with real-time previews. It’s packed with helpful extras that PhotoRec doesn’t even attempt to offer.
The open-source status is both PhotoRec’s blessing and its limitation. It means no cost, no lock-in, and complete transparency – but also no polish and no modern features (unless you’re willing to contribute to development yourself).
User Feedback
As for what others say about PhotoRec, we saw the full spectrum, from glowing praise to “worst-thing-ever-made” rants (just like with most recovery tools).
But overall, the bulk of real-world feedback feels pretty reflective of what PhotoRec actually is: a no-frills recovery tool that works best in the hands of patient or technically inclined users.
Plenty of users have had great results. On Trustpilot, one reviewer wrote:
“I can’t say more works than 1000 thank you to the creator of this webpage. I recovered all of my lost photos.”
Another user on Reddit shared:
“I used PhotoRec on a 1 TB drive and ended up with a dump of thousands of files with no names. Sorting through that mess was a nightmare.”
“PhotoRec is a file scraping tool – it will give you four false positives for every actual file, and it completely falls apart with any amount of file fragmentation. That type of recovery is generally considered a tool of last resort when anything is better than what you got by other means.”
Still, even many of the negative takes come with a reluctant respect. People might complain about the interface or the chaos of recovery folders, but they also admit PhotoRec is far from useless.
In fact, many enthusiasts openly applaud its open-source nature and the fact that it’s completely free with no strings attached.
Final Verdict
Now it’s time to wrap up this PhotoRec software review with a final score. Here’s how it stacks up based on our hands-on testing:
| Metric | Score | Notes |
| Recovery success rate | 7/10 | Strong performance in damaged or formatted media cases. Recovers many files fully, but no metadata or filenames. Struggles with some fragmented / lesser-known formats. |
| Scan speed | 8/10 | Faster than many paid tools. Scans complete in reasonable time. |
| Ease of use | 4/10 | Steep learning curve. Command-line interface is rough for most users. GUI version (QPhotoRec) helps, but still clunky by modern standards. |
| Value for money | 10/10 | Completely freehand open-source. No paid tiers. Delivers value if you’re willing to deal with the manual cleanup. |
🌟 Overall Score: 7.25 / 10
Our takeaway is this: PhotoRec is a reliable free option when you need a tool that can recover data from a damaged or reformatted file system (and you’re okay with not getting filenames, folder structure, or metadata back). If that’s your case, go for it. It works well in those situations.
Just be careful in the command-line interface: it’s easy to select the wrong drive if you’re not paying close attention or don’t have some technical background. There’s no safety net here.
But if you need a tool that can restore filenames, recover full directory structures, or let you preview files before restoring them, you’re better off using something more user-friendly, like Disk Drill or Stellar. Those tools are built with convenience in mind.
PhotoRec has its place – no question. It’s just not the one-size-fits-all solution people sometimes hope for.


